When you think of a classic 3 bean salad, your mind might drift to those overly sweet, mushy canned concoctions found at lackluster church potlucks. Forget everything you know about those dated recipes. We are elevating this humble pantry staple into a vibrant, texture-rich masterpiece that deserves a place on the most sophisticated summer tables. This version is all about the “crunch factor” and visual vibrance, utilizing fresh blanching techniques and a sharp, glistening vinaigrette that makes every bean pop.
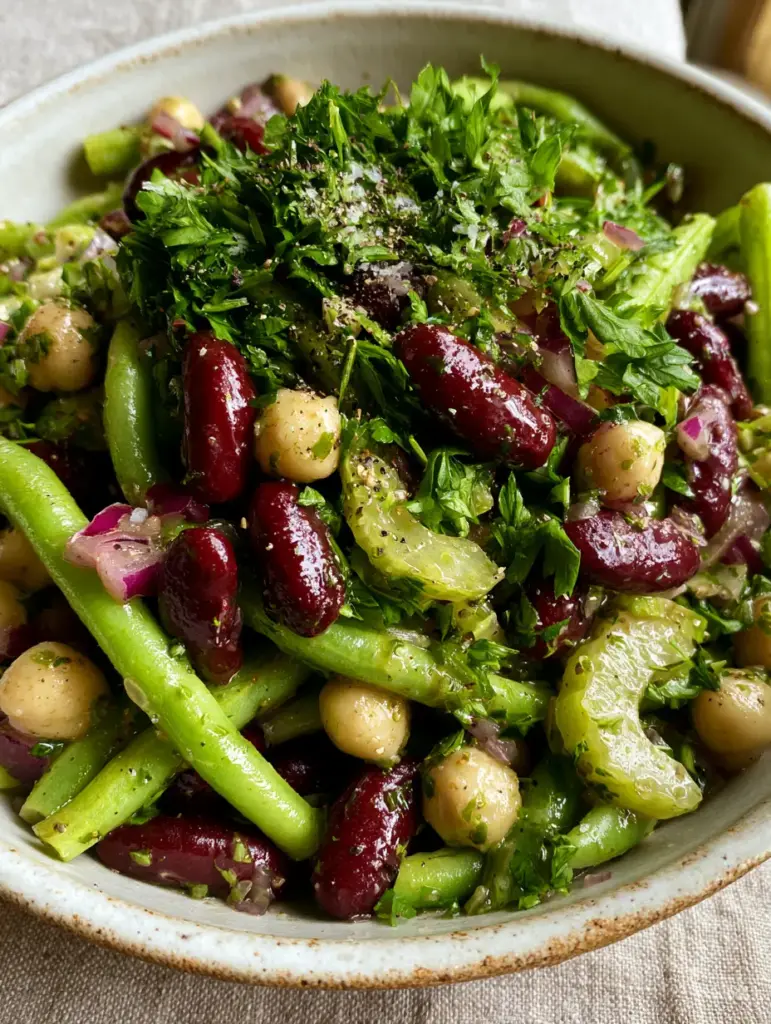
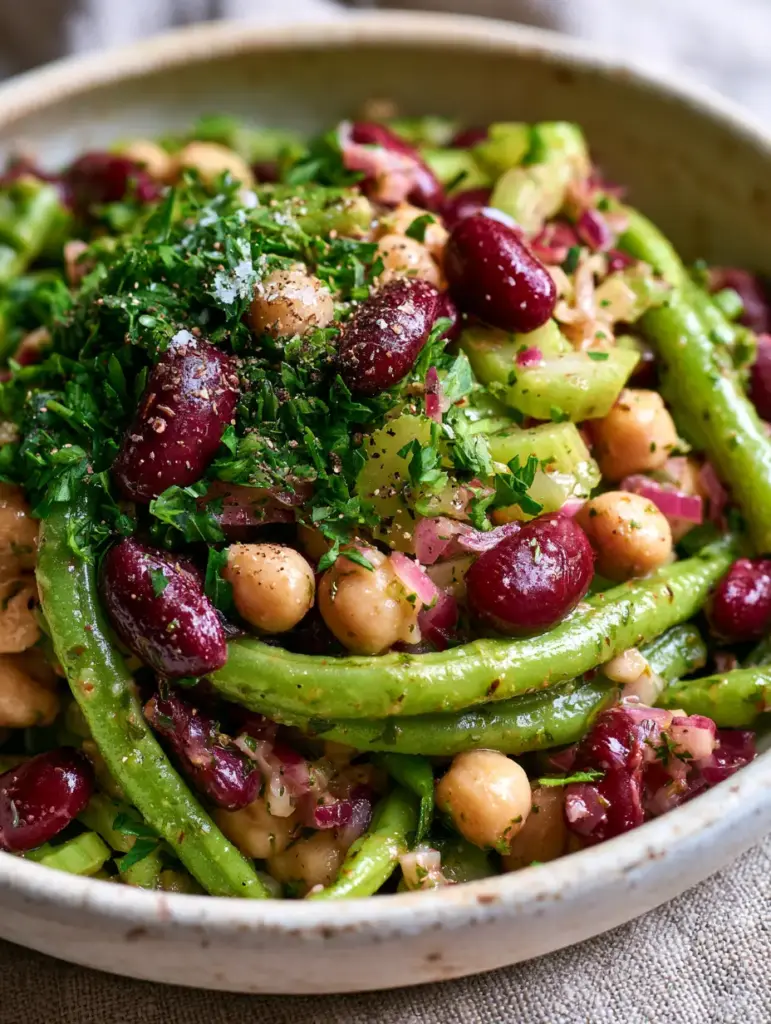
Imagine a handheld smartphone photo capturing the perfect lunch: a rustic matte white ceramic bowl overflowing with bright green blanched string beans, mixed with plump, glossy dark red kidney beans and creamy matte chickpeas. The salad isn’t just a side; it’s a sensory experience. The light catches the herb-flecked vinaigrette, while finely diced ruby-red onions and translucent celery crescents provide a crisp counterpoint to the soft, protein-packed legumes. This is the 3 bean salad redefined for the modern, enthusiastic home cook.
Whether you are prepping for a weekend BBQ or looking for a high-fiber lunch that actually keeps you full, this recipe delivers. It strikes the perfect balance between earthy, acidic, and fresh, finished with a heavy scatter of flat-leaf parsley and the distinct crunch of sea salt flakes. It is a dish that looks as professional as it tastes, bridging the gap between “easy pantry meal” and “gourmet side dish.”
Why This Vibrant Bean Medley Works for Every Occasion
- Unbeatable Texture Contrast: By using fresh blanched green beans alongside canned kidney beans and chickpeas, we achieve a spectrum of textures from “snap” to “creamy.”
- Visual Brilliance: The combination of bright greens, deep ruby reds, and matte creams creates a stunning color palette that requires no filter for your social media feed.
- Aromatic Depth: Moving beyond just salt and pepper, the use of fresh flat-leaf parsley and a hint of apple cider vinegar provides an herbaceous lift that cuts through the starchiness of the beans.
- Nutritional Powerhouse: Packed with plant-based protein and complex carbohydrates, this 3 bean salad is a functional food that fuels your body without the heavy “slump” of creamy mayo-based salads.
Foundational Ingredients for the Ultimate Crunch
Fresh Green Beans (String Beans): These are the backbone of the salad. We aren’t using canned green beans here; we need 1 lb (450g) of fresh beans, trimmed and blanched to a perfect “bright green” to ensure a satisfying snap in every bite.
Dark Red Kidney Beans: One 15oz (425g) can provides the “plump, glossy” visual mentioned in our blueprint. They offer a meaty texture and a deep earthy flavor that grounds the lighter elements of the dish.
Canned Chickpeas (Garbanzo Beans): These add a “creamy matte” finish and a nutty undertone. One 15oz (425g) can, thoroughly rinsed, balances the bite of the kidney beans with their smooth interior.
Red Onion: Finely diced ruby-red onions add both a sharp piquant flavor and a necessary pop of color. To keep them from overpowering the dish, we dice them small so they distribute evenly in the glistening dressing.
Celery: We use two stalks, sliced into “translucent crescents.” This specific cut ensures the celery isn’t just a filler but a source of architectural interest and a crisp, watery crunch that refreshes the palate.
Fresh Flat-Leaf Parsley: A heavy scatter of chopped parsley is essential. Unlike curly parsley, flat-leaf (Italian) parsley has a more robust flavor and a softer texture that melds perfectly with the apple cider vinaigrette.
Apple Cider Vinaigrette: This isn’t a bottled dressing. We use a base of high-quality extra virgin olive oil, apple cider vinegar, a touch of honey for balance, and Dijon mustard to ensure a glistening, emulsified coating on every bean.
Seasoning Staples: Coarse cracked black pepper and sea salt flakes provide the final “macro” texture. The sea salt flakes, in particular, catch the light and provide localized bursts of salinity that elevate the individual bean flavors.
Essential Equipment for Professional Results
To achieve the “glistening” and “vibrant” look of our 3 bean salad, you will need a few key tools. First, a large stockpot for the blanching process and a large bowl filled with ice water for the “shock.” This is non-negotiable for preserving that bright green color. You will also need a sharp chef’s knife to create those precise “translucent celery crescents” and finely diced onions.
A rustic matte white ceramic bowl is recommended for serving, as it provides a neutral background that makes the reds and greens of the salad truly sing. For the vinaigrette, a small glass jar with a tight-fitting lid is the easiest way to emulsify the oil and vinegar into a smooth, glistening dressing that coats the ingredients without pooling at the bottom.
Mastering the 3-Minute Blanching Technique
Prepping the Green Beans
Start by washing 1 lb (450g) of fresh green beans. Snap or trim the stem ends, but feel free to leave the tapered “tail” for a more rustic, farm-to-table look. Cut them into 1.5-inch (4cm) pieces so they are similar in size to the kidney beans and chickpeas, ensuring a balanced forkful every time.
The Boiling and Shocking Process
Bring a large pot of salted water to a rolling boil. Drop the green beans in and cook for exactly 3-4 minutes. You are looking for a “bright green” color and a tender-crisp texture—tender enough to eat but still retaining a loud “snap.” Immediately plunge them into an ice bath to stop the cooking process and lock in that chlorophyll.
Drying for Maximum Dressing Adhesion
This is a secret culinary step: once the beans are cold, dry them thoroughly with a clean kitchen towel. If the beans are wet, the apple cider vinaigrette will slide right off, leaving you with a watery mess instead of a glistening masterpiece. Texture starts with a dry surface.
Building the Glistening Herb-Flecked Vinaigrette
Emulsification Science
In your jar, combine 1/3 cup (80ml) extra virgin olive oil, 1/4 cup (60ml) apple cider vinegar, 1 tbsp (15g) Dijon mustard, and 1 tbsp (21g) honey. The mustard acts as the emulsifier, binding the oil and vinegar together. Shake vigorously until the mixture is opaque and slightly thickened. This ensures the dressing “clings” to the glossy kidney beans.
The Herb Infusion
Add 1/2 tsp (3g) of sea salt and a generous amount of coarse cracked black pepper directly into the dressing. By adding the seasoning here, you ensure it is distributed evenly throughout the 3 bean salad. Stir in half of your chopped parsley now to let the oils in the herbs begin to infuse into the vinaigrette.
Assembly and the Final Visual Touch
Combining the Legumes
In your matte white bowl, combine the dried green beans, the rinsed kidney beans, and the creamy chickpeas. Toss them gently with clean hands or silicone tongs to avoid breaking the skins of the canned beans. You want those kidney beans to remain “plump” and “glossy.”
Adding the Aromatics
Fold in the ruby-red diced onions and the translucent celery crescents. At this stage, you should see the color palette coming together. The contrast between the matte chickpeas and the translucent celery is exactly what makes this dish look like it belongs on a professional food blog.
The Final Toss and Garnish
Drizzle the glistening vinaigrette over the salad and toss until every bean is flecked with herbs. Just before serving, top with the remaining fresh parsley, an extra pinch of coarse black pepper, and those crystalline sea salt flakes. The side lighting from a window will catch these flakes, creating the “authentic food blog style” visual we are aiming for.
Expert Tips for 3 Bean Salad Success
- Rinse Your Canned Beans: Always rinse canned beans until the water runs clear. The liquid in the can is full of excess starch and sodium, which can make your salad look “muddy” rather than “vibrant.”
- The “Bite” of the Onion: If you find raw red onion too sharp, soak the diced pieces in cold water for 10 minutes, then drain and dry. This preserves the ruby-red color while mellowing the flavor.
- Acid Balance: Apple cider vinegar varies in acidity. Taste your vinaigrette before pouring. If it’s too sharp, add another teaspoon of honey; if it’s too flat, add a squeeze of fresh lemon juice.
- The Resting Period: While this salad can be eaten immediately, letting it sit for 30 minutes at room temperature allows the beans to marinate in the vinaigrette, deepening the flavor profile.
Storage, Shelf Life, and Meal Prep
This 3 bean salad is a meal prepper’s dream. Unlike leafy green salads, this dish actually improves after a few hours in the fridge. Store it in an airtight container for up to 4 days. The green beans may lose a bit of their “bright green” vibrance over time due to the acid in the vinegar, but the flavor will only intensify.
We do not recommend freezing this salad. The texture of the fresh celery and blanched green beans will become mushy upon thawing, destroying the “translucent crisp” quality that makes this recipe special. If you are making this for a party, assemble everything but the dressing up to 24 hours in advance, then toss just before heading out.
What to Serve With This Vibrant Summer Side
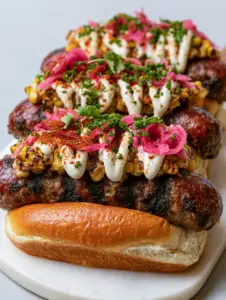
This salad is incredibly versatile. It provides a clean, acidic contrast to rich, grilled meats. It is the perfect partner for gourmet hot dogs at a backyard cookout, or as a lighter alternative to a traditional macaroni salad recipe.
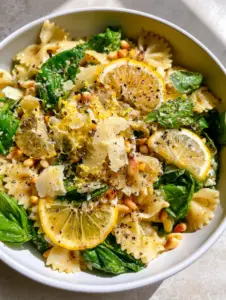
If you are hosting a large gathering and want a variety of textures, consider serving this alongside a tangy pasta salad or a refreshing lemon basil pasta salad. The vinegary profile of the 3 bean salad complements the herbal notes of the pasta dishes beautifully. For those who love a bit of a Southwestern flare, you might even pair it with a black bean and corn pasta salad to create a full legume-focused spread.
Frequently Asked Questions
Absolutely! This salad actually tastes better after 30-60 minutes of marinating. It can be stored in the fridge for up to 4 days, making it excellent for meal prep.
While you can, fresh blanched green beans are highly recommended. Canned green beans are often mushy and olive-drab in color, whereas blanched beans provide the vibrant ‘snap’ and bright green color essential for this modern version.
After dicing your ruby-red onion, soak the pieces in a bowl of cold water for about 10 minutes. This removes the harsh sulfurous ‘bite’ while keeping the onion crisp and colorful.
Yes, as long as you substitute the honey in the vinaigrette with maple syrup or agave nectar. All other ingredients, including the beans and aromatics, are naturally plant-based.
Ensure your beans are completely dry after the ice bath. Water clinging to the beans will dilute the vinaigrette. Also, make sure to use Dijon mustard, which acts as an emulsifier to keep the oil and vinegar combined.
The Ultimate Vibrant 3 Bean Salad Recipe
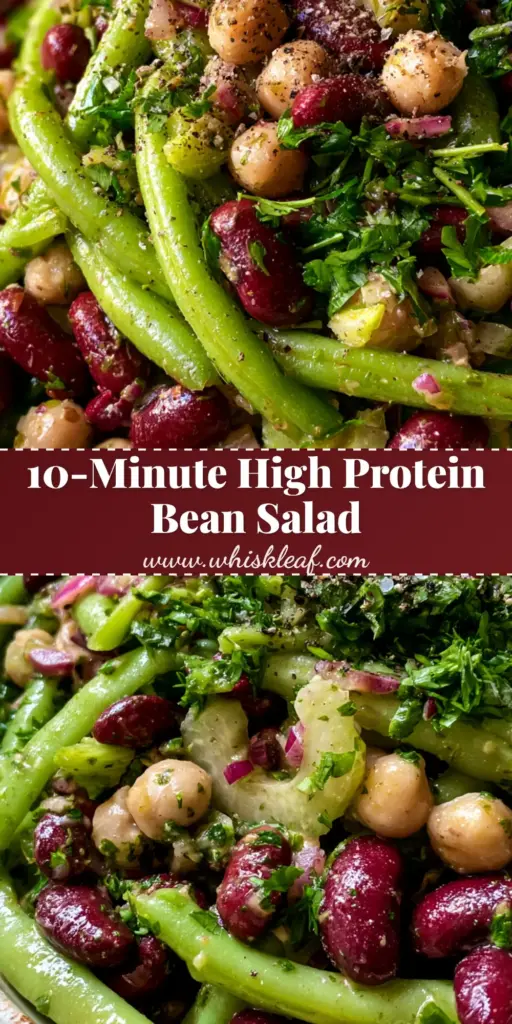
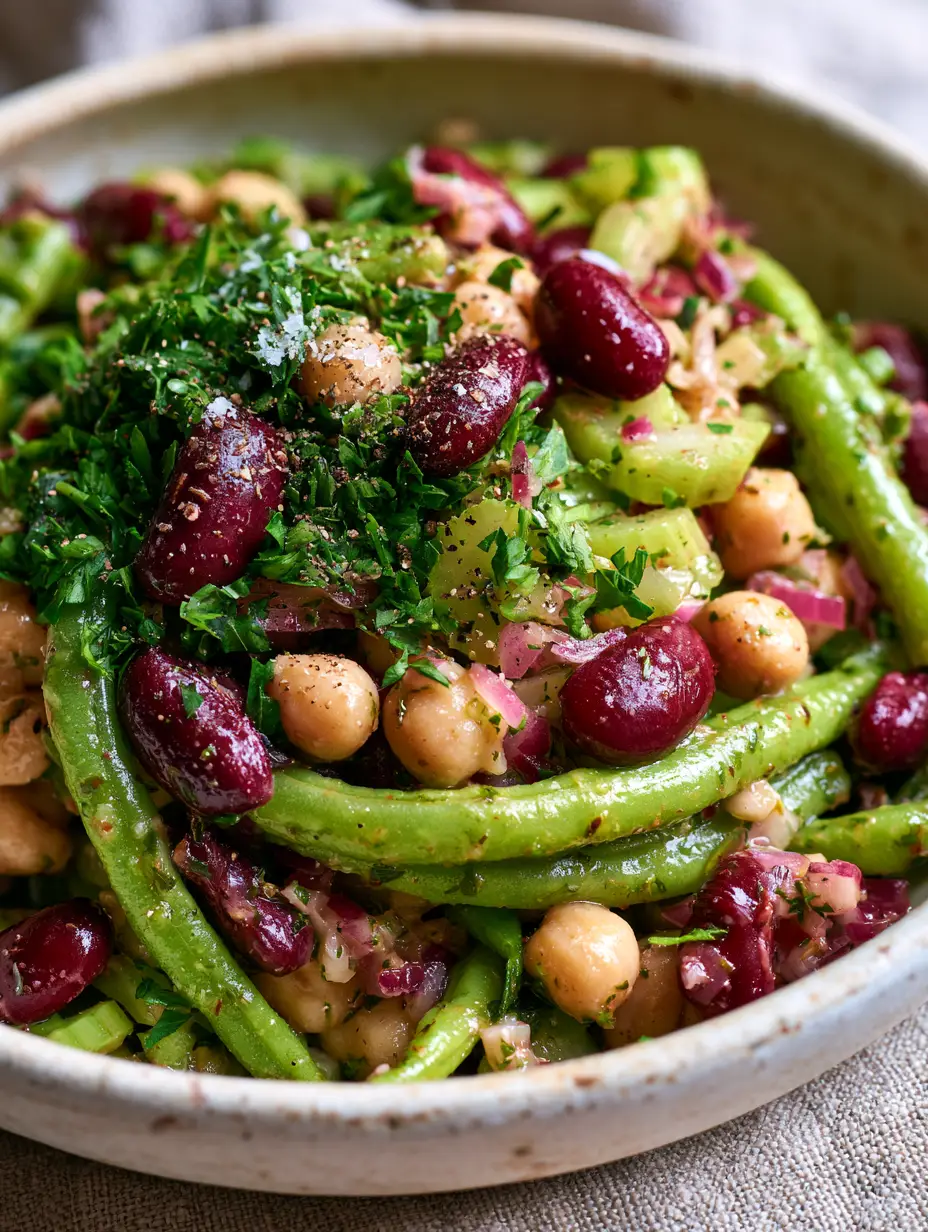
3 Bean Salad with Crisp Blanched Green Beans and Apple Cider Vinaigrette
Ingredients
Equipment
Method
- Bring a large pot of salted water to a boil. Cook green beans for 3-4 minutes until bright green and tender-crisp.
- Immediately transfer beans to an ice water bath. Once cold, drain and pat completely dry with a towel.
- In a jar, shake together olive oil, apple cider vinegar, Dijon, honey, salt, and pepper until glistening and emulsified.
- In a rustic matte bowl, combine blanched green beans, kidney beans, chickpeas, red onion, celery, and parsley. Pour dressing over and toss to coat.
- Top with extra sea salt flakes and cracked pepper before serving.
Notes
For a milder onion flavor, soak diced red onions in cold water for 10 minutes before adding to the salad.
Closing & Call to Action
Creating a 3 bean salad that is both beautiful and delicious is all about respecting the ingredients. By focusing on the blanching technique and the quality of your vinaigrette, you’ve turned a simple pantry staple into a gourmet experience. This dish is proof that healthy, high-fiber eating doesn’t have to be boring or unappealing.
If you made this recipe and loved the “snap” of those green beans, let us know in the comments below! We love seeing your culinary creations. Don’t forget to share your photos and tag us, and be sure to follow juliaflavor on Pinterest for more vibrant recipe inspiration like this.